Cloudy, yellowed headlights are more than an eyesore; they are a serious safety hazard, drastically reducing your nighttime visibility and the ability of other drivers to see you. While professional restoration exists, many cases of haze can be resolved with a thorough and proper cleaning.
This guide will walk you through two levels of cleaning: a routine maintenance clean to prevent buildup and a deeper restorative clean to tackle early stages of oxidation. We’ll cover the tools you need, the steps to follow, and the crucial tips to avoid causing damage.
Understanding What You Are Cleaning
Before you begin, it is essential to understand what causes the haze on your headlights. That dull, yellowed appearance is not simply dirt; it is a combination of surface contaminants and a degraded protective layer. Every day grime, road tar, bug splatter, and brake dust accumulate on the surface. More critically, the factory-applied UV clear coat breaks down from constant sun exposure, a process known as oxidation. This creates a rough, cloudy surface that is often etched with micro-scratches from sand and road debris, which further trap dirt and scatter light. A simple wash only removes the surface contaminants, while a proper clean must address these deeper issues to restore true clarity.
Level One: The Routine Maintenance Clean
This process should be incorporated into your regular car washing routine. Its primary purpose is to prevent grime from bonding to the headlight lens and to maintain clarity between deeper cleans.
Gathering Your Supplies for Maintenance
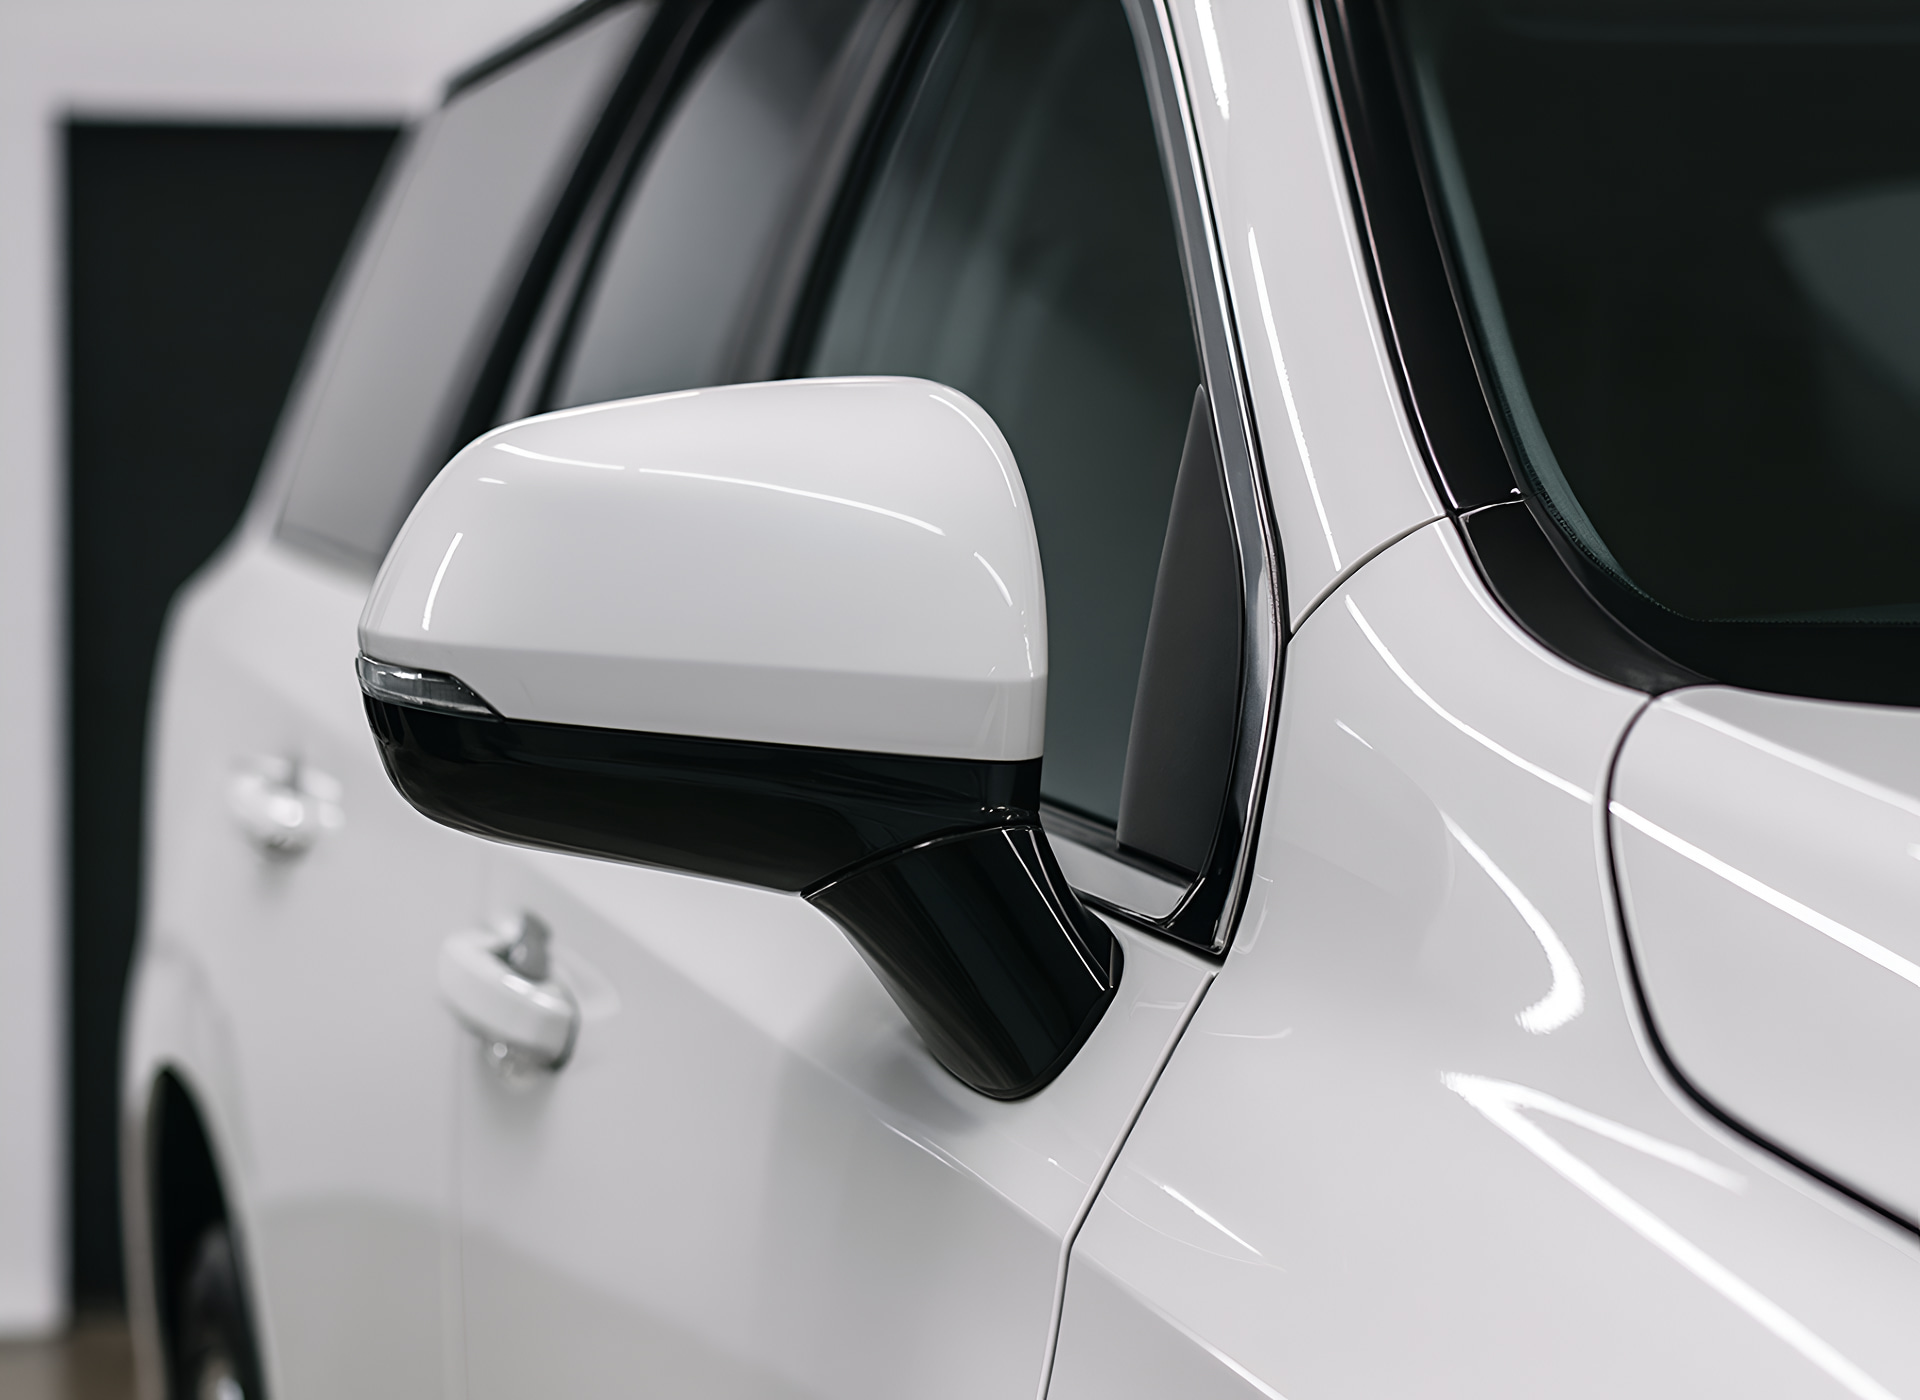
For an effective routine clean, you will need a pH-neutral car wash shampoo, two buckets—one for soapy water and one for clean rinse water—and a dedicated microfiber wash mitt or sponge. Soft-bristle detailing brushes are invaluable for cleaning the grille and tight spaces around the headlight housing. You will also need plenty of clean, premium microfiber towels and a decontaminating agent like isopropyl alcohol or a dedicated automotive surface prep spray.
Executing the Step-by-Step Maintenance Wash
Initial Rinse with Cool Water
Rinse the entire car, including headlights, with cool water to loosen dirt and grit. This first step prevents scratches by washing away loose debris before you begin hand washing the more delicate headlight surfaces.
Gentle Two-Bucket Car Wash
Use the two-bucket method to wash from the top down, saving headlights for last. This ensures the cleanest soapy water touches the lenses, preventing dirt from other panels from being transferred onto the headlights.
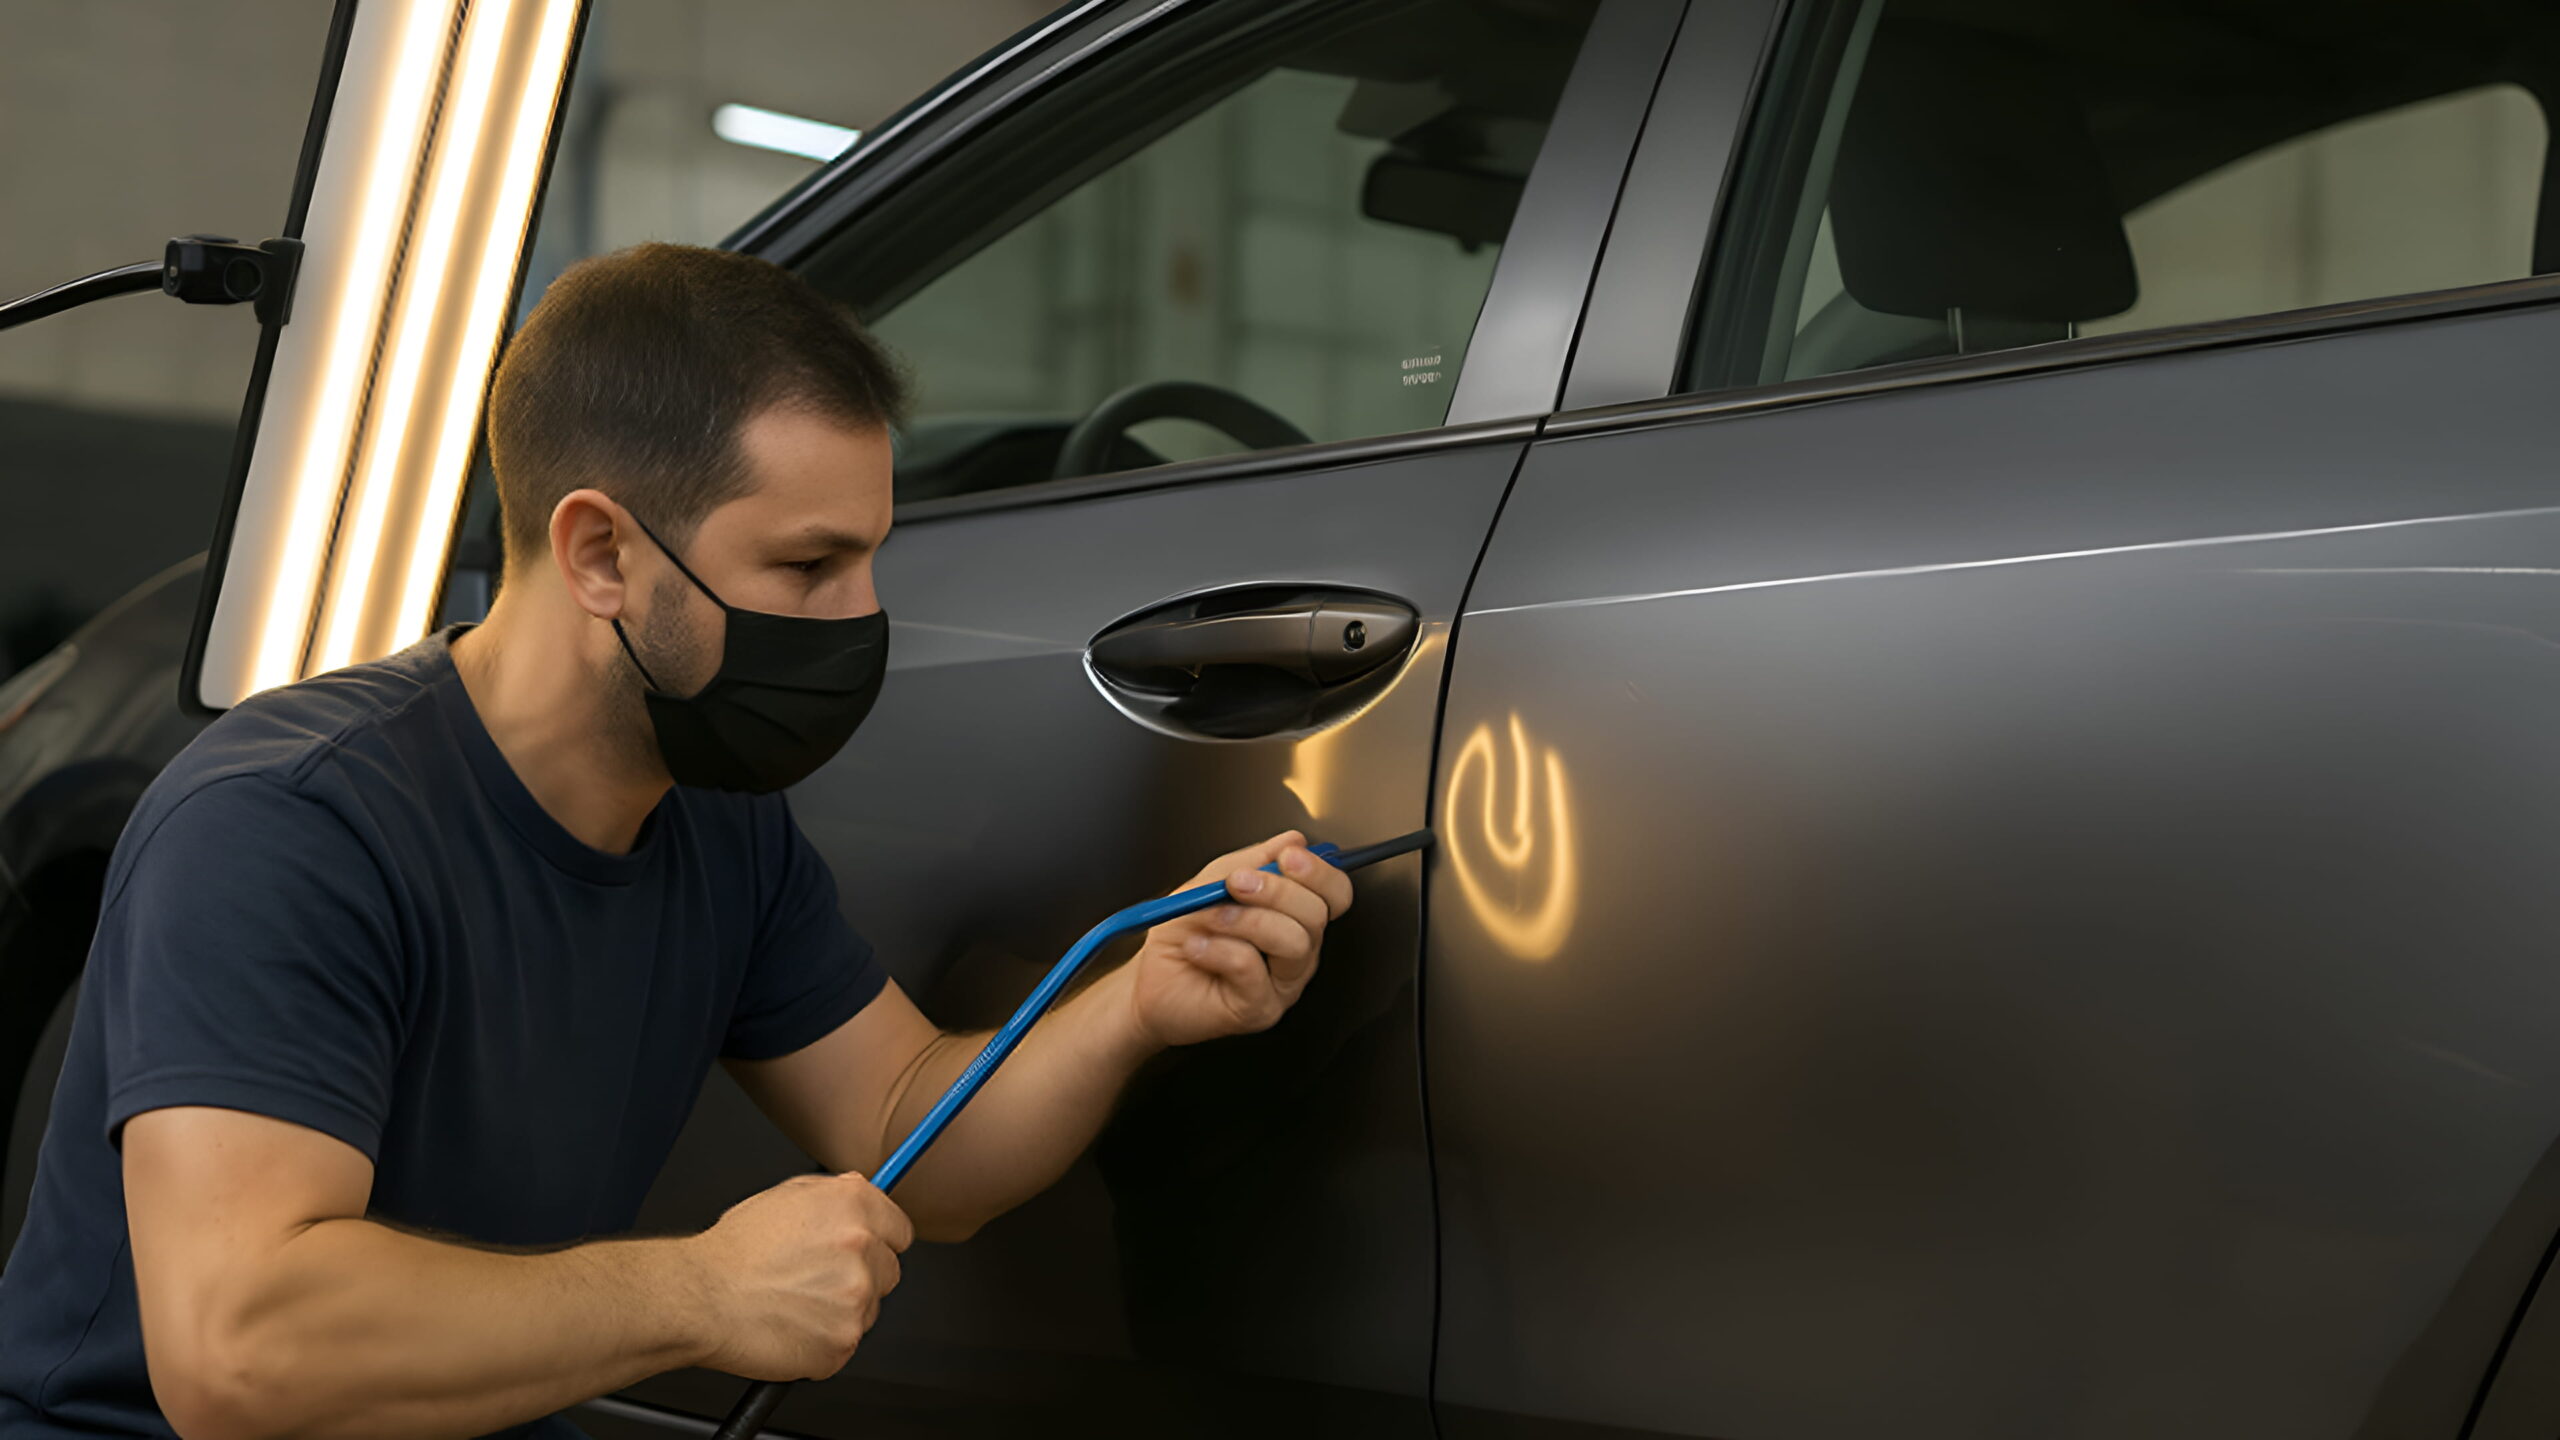
Detailing Brush for Stubborn Dirt
Dip a soft-bristle detailing brush in soapy water and gently scrub around headlight edges and grille grooves. This technique removes stuck-on grime that a regular wash mitt might miss, ensuring a thoroughly clean lens.
Decontamination with Alcohol or Prep Spray
Spray isopropyl alcohol or surface prep solution on a clean microfiber towel and wipe the lens thoroughly. This step removes invisible oils and residues, lifting embedded contamination for a perfectly clean headlight surface.
Apply UV-Protective Sealant
Once the headlights are dry, apply a spray-on ceramic sealant or dedicated headlight coating. This adds a slick hydrophobic layer, eases future cleaning, and provides essential UV protection to slow oxidation and keep lenses clear.
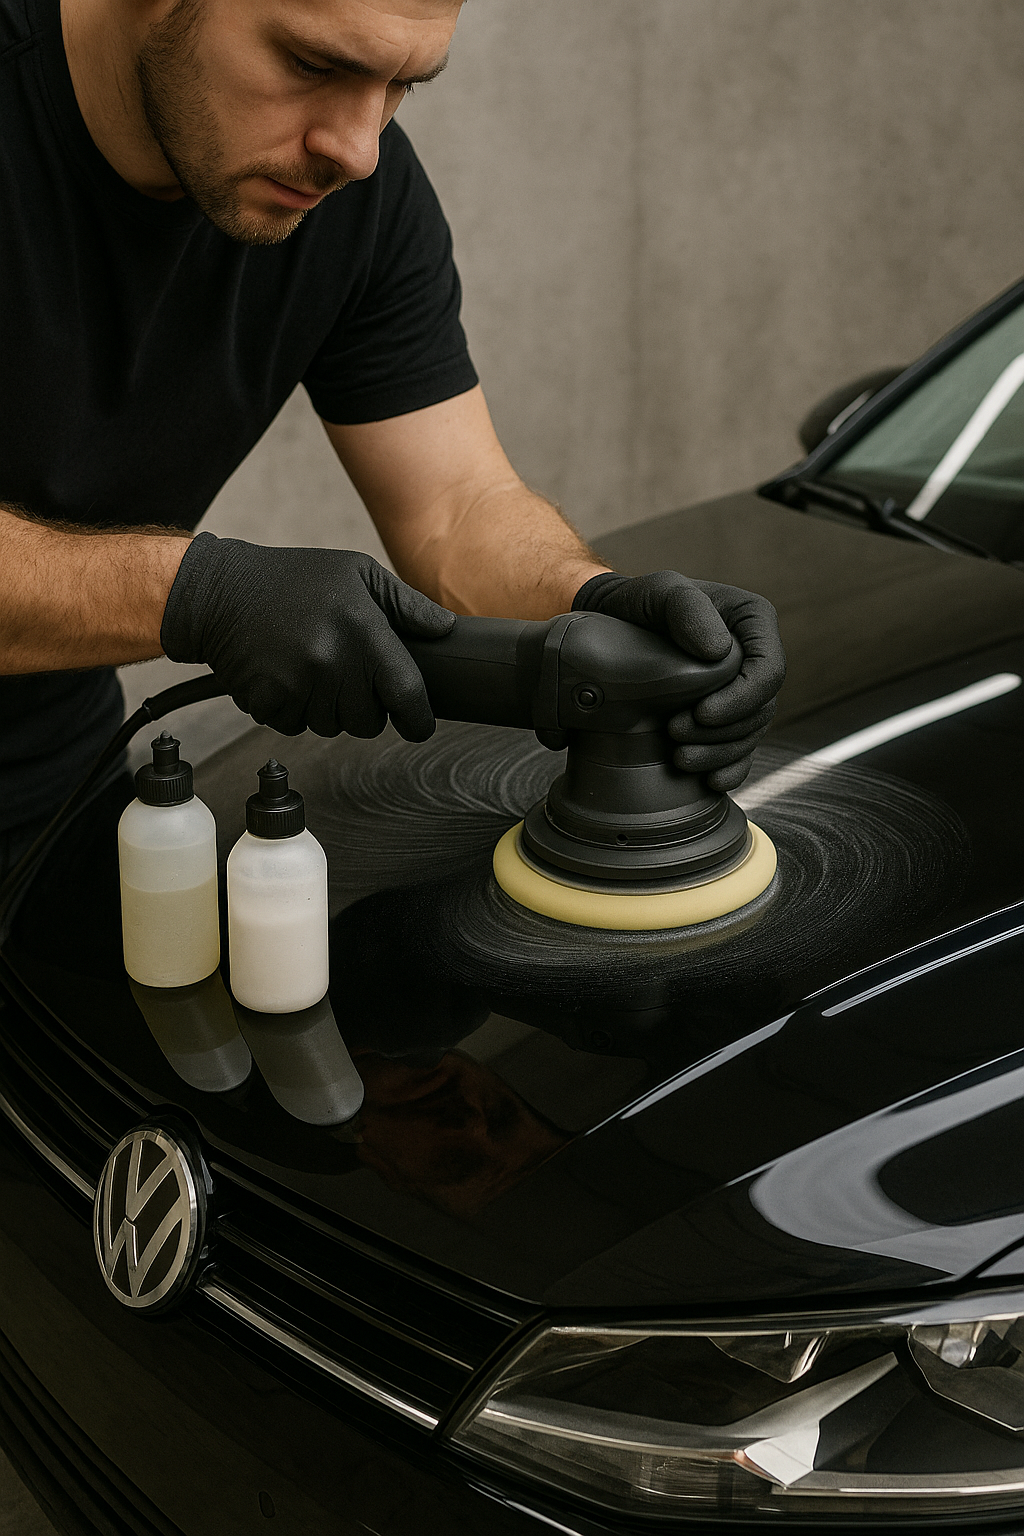
Level Two: The Deeper Restorative Clean
When a standard maintenance clean is no longer sufficient to restore clarity, a deeper process is required. This method is designed for headlights that are slightly hazy but not severely yellowed or cracked. It works by physically leveling the oxidized surface to reveal the clear plastic underneath.
It is important to note that this process removes a microscopic layer of plastic. Therefore, it should be performed sparingly, only once or twice a year at most. For headlights with severe oxidation, a full sanding-based restoration is necessary.
Gathering Your Supplies for Restoration
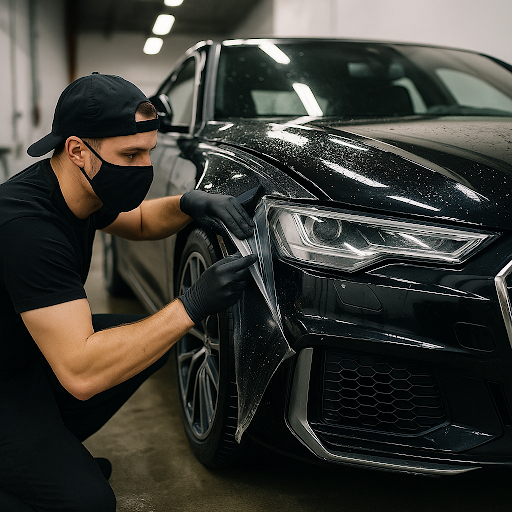
For a restorative clean, you will need all the supplies from the maintenance wash. Additionally, you will require an automotive-grade polishing compound, a machine polish (a dual-action polisher is highly recommended for best results and safety), and a corresponding foam polishing pad. Several new, clean microfiber towels are essential for wiping away residue and inspecting your progress. Finally, a high-quality headlight sealant or UV-blocking ceramic coating is non-negotiable to protect the newly exposed plastic.
How Do You Perform a Complete Headlight Restoration?
Find below the essential steps to wash, polish, and protect headlights for lasting clarity and safety.
Thorough Initial Wash
Start with a complete Level One wash to remove all surface dirt and contaminants. Any grit left behind will be polished into the plastic, creating deep scratches and preventing the headlight from achieving full clarity during restoration.
Apply Polishing Compound
Add a small amount of polishing compound to the lens or foam pad. Use a dual-action polisher on low-to-medium speed, moving continuously with light to moderate pressure across overlapping sections to avoid heat buildup and potential plastic damage.
Inspect and Wipe Residue
After polishing each section, wipe the surface with a clean microfiber towel and check clarity. Continue until the oxidized plastic layer is removed and the headlight surface feels perfectly smooth, ensuring the best possible transparency.
Final Alcohol Wipe
Perform a thorough wipe-down with isopropyl alcohol or a surface prep spray. This essential step removes any remaining polishing oils and residue, creating a clean, contaminant-free surface ready for the protective sealant or ceramic coating.
Apply UV Protective Sealant
Finish by applying a dedicated UV sealant or ceramic coating in a thin, even layer. This new protective barrier replaces the removed factory coating, safeguarding the headlights from future oxidation and maintaining long-lasting clarity.
When to Seek Expert Restoration
If your headlights remain cloudy after a detailed maintenance wash or a careful restorative clean, it is time to book a professional service. Stubborn haze often means deep oxidation or pitting that simple polishing cannot remove. Professionals are equipped to correct these issues safely.
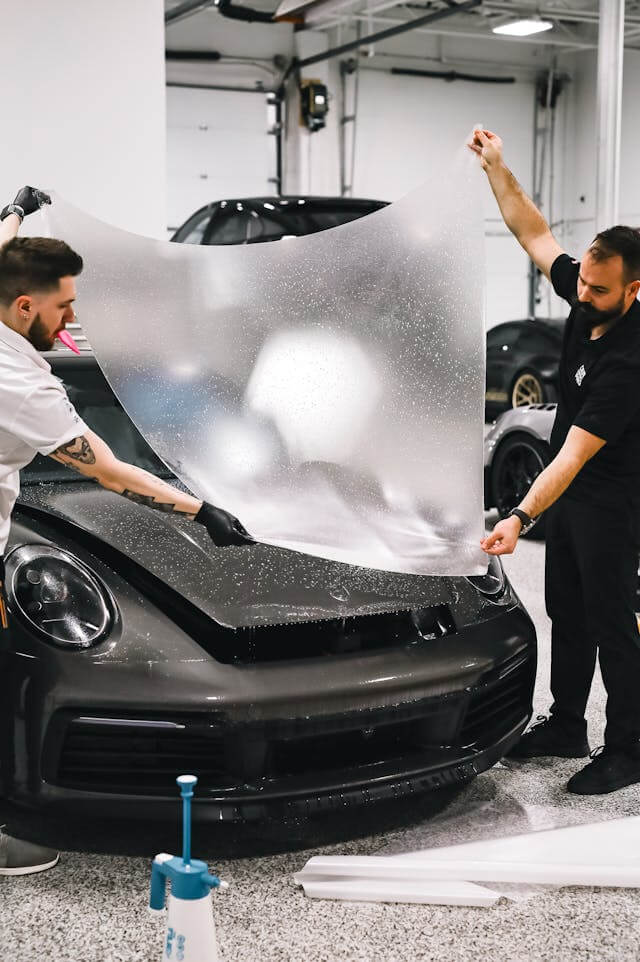
A skilled technician can also address small surface cracks and apply high-grade protective films that block UV rays and repel contaminants. This ensures maximum brightness, safer nighttime driving, and a cleaner, newer appearance that lasts much longer than typical do-it-yourself methods.
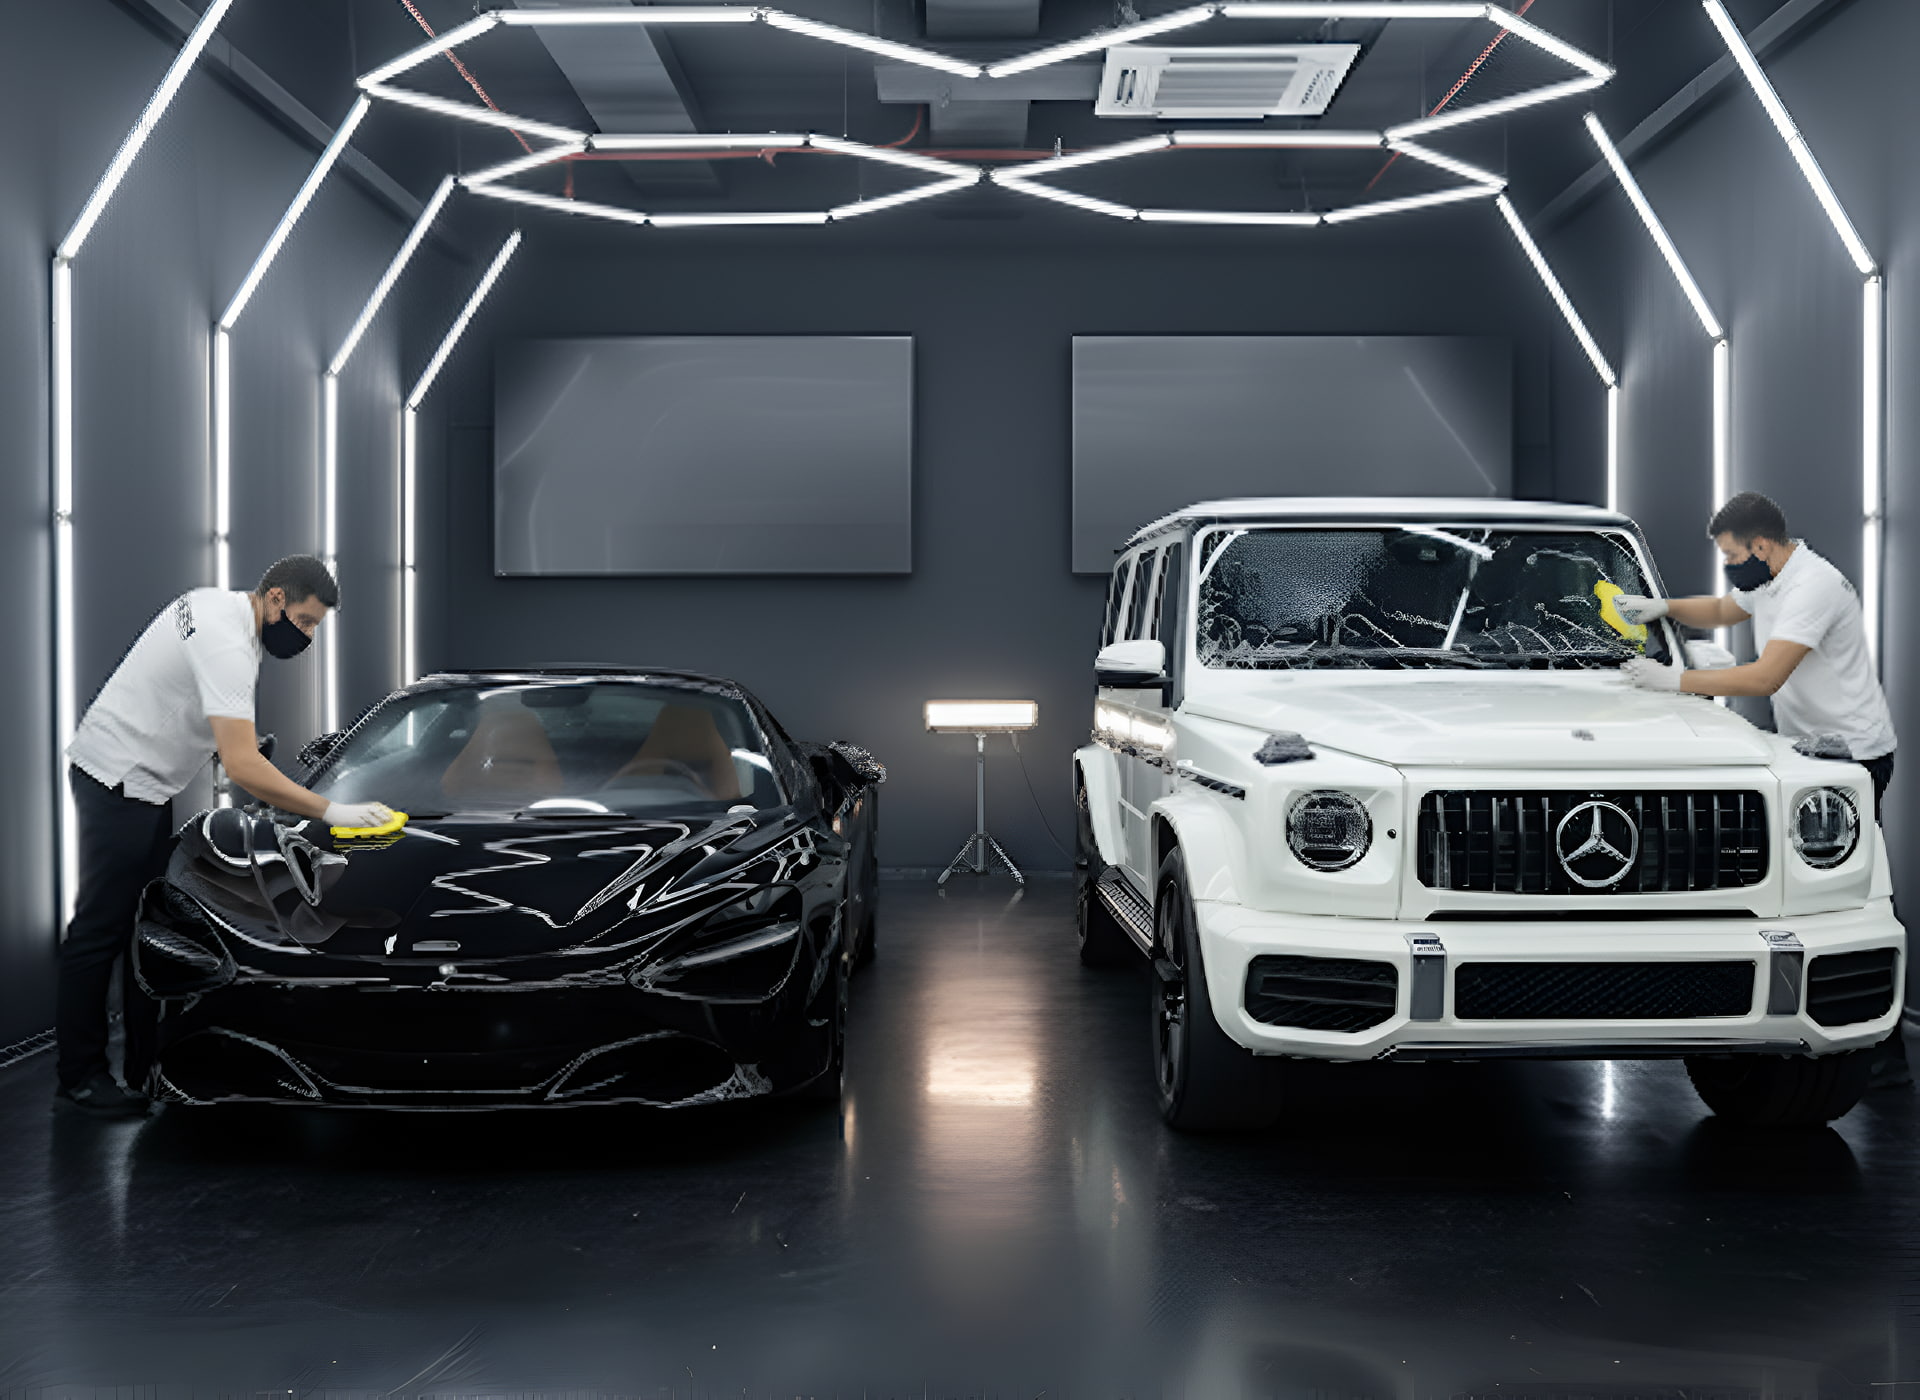
Use Professional Headlight Cleaning Services
Professional headlight cleaning delivers results that DIY kits rarely match. Experts use advanced polishing machines, specialty compounds, and durable UV-resistant coatings to restore clarity while protecting the plastic lens. Their training prevents uneven polishing or accidental scratches during the process.
This professional approach offers long-term savings by reducing the need for frequent reapplications or expensive headlight replacements. With expert care, your headlights maintain full brightness and a like-new look for years, improving both safety and the overall value of your vehicle.
Conclusion:
Clean, bright headlights are essential for safe night driving and the overall appearance of your vehicle. Regular maintenance, washing, and occasional restorative cleaning can prevent oxidation and keep lenses clear, but severe haze requires professional attention to ensure lasting clarity and protection.
For guaranteed results, trust Monza Auto Care, your expert detailing service in Sharjah. Our skilled technicians use premium compounds, advanced polishing tools, and high-grade UV sealants to restore full brightness and preserve your car’s value. Visit Monza for professional headlight restoration that keeps your vehicle safe, stylish, and road-ready.
Frequently Asked Questions
How often should I clean my car's headlights?
For optimal clarity and safety, perform a routine maintenance clean every two weeks. A deeper restorative polish should only be undertaken once or twice a year to avoid excessive plastic removal.
Can toothpaste effectively clean yellowed headlights?
Toothpaste offers minimal abrasive action for very mild haze but provides no UV protection. It is an inadequate solution for oxidized lenses and cannot prevent the rapid return of yellowing and cloudiness.
What is the main cause of headlight yellowing?
Persistent exposure to ultraviolet radiation degrades the factory-applied UV protective coating. This process, called oxidation, creates a rough, cloudy surface that scatters light and diminishes nighttime visibility.
Is a professional restoration better than a DIY kit?
Professional services utilize advanced tools, high-grade sealants, and expert techniques to deliver superior, longer-lasting results. DIY kits often lack durability and can risk damage if used incorrectly.
Does cleaning headlights improve nighttime driving safety?
Absolutely. Removing haze and oxidation restores full light output, dramatically improving your view of the road and making your vehicle more visible to other drivers, thereby significantly enhancing safety.